Guide to Remove Grip Tape – Step One
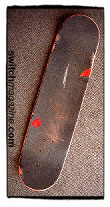
Removing grip tape from your skateboard can be difficult, and if done incorrectly could potentially ruin your perfectly-usable, old skateboard.
So let’s grab your old crusty board and find yourself a working space to see how it should be done the right way.
A garage or any isolated place will do – just make sure no kids are around because there will be a little heating and stuff (and some noise too).
Step Two:
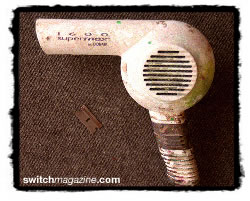
Grab your tools. You will need –
– a razor blade (any old, used, or disposable blade can do the trick). If you don’t have a razor blade – any sharp edge / knife can also work, just make sure to be careful
– a hair dryer. We used our very old ConAir 1600 SuperMax. New Model is available.
Step Three:
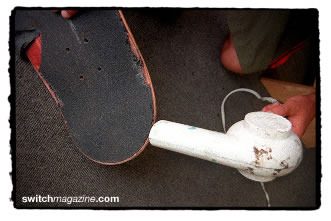
Once you have everything, start by heating the grip tape up with your hair dryer. The best way to do this is to turn your hair dryer on to maximum heat and move it evenly across the top / grip-facing side of your board.
This causes the glue holding the grip tape to loosen its grip on the board. This can take a while but its makes the rest of the process so much easier (and cleaner).
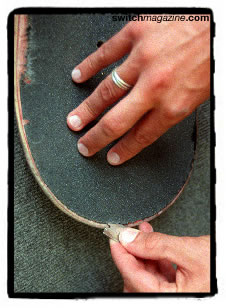
Step Four:
Use the razor / knife to peal back the grip tape an inch or so in a very even way. Do this very cautiously – because this is where you are actually removing the tape.
Try to avoid having the grip tape rip. It is much easier to take it off in one piece rather than removing it in bits and pieces (this is why heating up the glue to loosen the grip is so important)!
Step Five:
Heat and peel – heat and peel – heat and peel – heat and peel – heat and peel. Rinse and repeat until you’ve removed ~4-6 inches off from the edges.
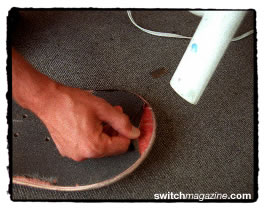
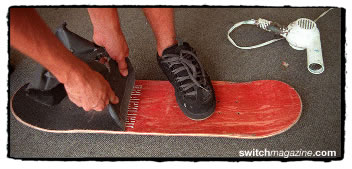
Step Six:
After you get four to six inches in, plant your foot onto your board and pull slowly and the rest of the grip tape should come off relatively smoothly. If not – just heat and peel some more!
Repeat this step as needed until no bits and pieces are left on your board, and all you can see is the pristine wood of the board.
This is key – if any bits of previously applied tape is left on your board, then your surface will have bubbles once you apply any new grip tape over it.
Then just clean up rest of the little pieces – if you missed by chance – and voila, now you should have a naked board.
But that’s no good! You’ll likely want to re-apply some new grip tape to your old board. To learn how – make sure to check out our How to Apply a Grip Tape back again guide to learn how to do so.
Hope this was helpful – we have created this post in response to a mail we received that read –
“I am new at skateboarding, and I made the mistake of lending my Birdhouse to one of my friends!!! He ruined the grip tape totally, and I need to get some new griptape. It would be most appreciated if you could tell me how to replace the old griptape!” – John
If you, like John are new to skateboarding and looking for any other guides, make sure to check out some of other posts below, including:
- How to stand on a skateboard and perfect your skateboarding stance
- Painful skateboarding injuries and how to protect yourself from them
- The best skateboarding brands for 2022
- The best shortboard skateboards
Check out some of the other below links to buy some new grip tape as well: